
*Updated December 22nd, 2025
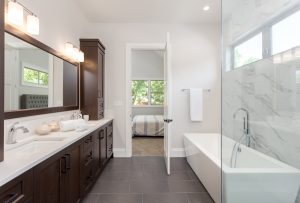
Thinking about upgrading your bathroom with fresh, stylish tile? Whether you’re planning a full bathroom remodel or simply replacing outdated bathroom floor or shower wall surfaces, tiling can completely transform the space. Still, one of the first questions homeowners ask is: how long does it take to tile a bathroom?
The answer depends on various factors, including bathroom size, tile size, layout complexity, prep work, and whether you’re hiring a professional tile installer or tackling a DIY project. In this guide, we’ll walk through the full bathroom tiling project timeline, from prep to grouting, so you can set realistic expectations before getting started.
Preliminary Questions Before Tiling a Bathroom
Before diving into the tiling process, it’s important to clarify a few basics. Understanding these early helps estimate how long it will take, choose materials, and avoid delays later.
1. How Big Is Your Bathroom?
The size of the bathroom plays a major role in how long tiling takes. Measure the total square foot (sq ft) area of the bathroom floor, walls and floor, or shower area you plan to tile. An average size bathroom will naturally take less time than larger master bathrooms or spaces with multiple tiled surfaces.
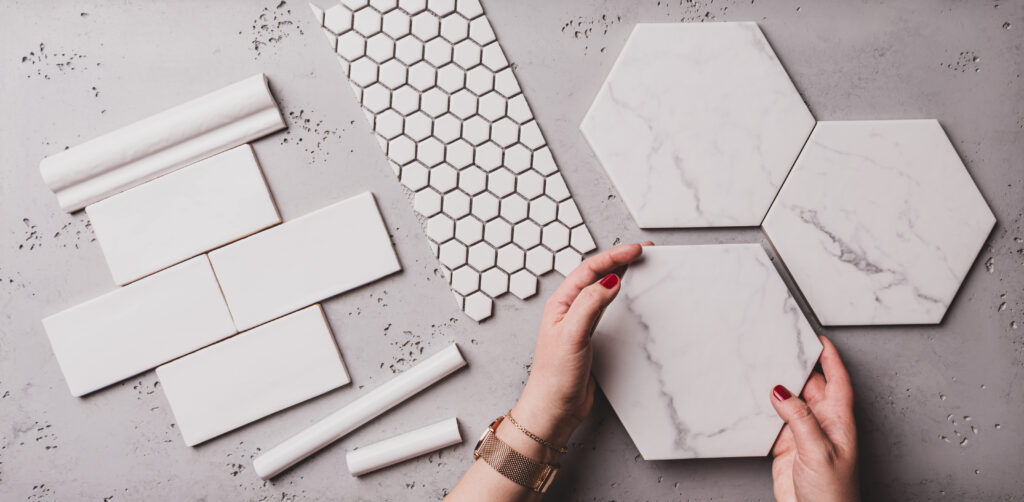
2. Type of Tile You Choose
Not all bathroom tiles install the same way. Porcelain and ceramic tiles usually take less time, while natural stone often requires sealing and more meticulous handling. Smaller tiles, like mosaic tiles, require more precision and typically require more time than larger tiles.
Actual costs depend on your location, project scope, and materials. The best way to know what you'll pay is to get quotes from local contractors.
Get Your Free Estimate →3. Tile Layout & Design Complexity
A simple grid layout is the quickest option. More complex layouts—such as herringbone, intricate patterns, or custom tile layout designs—add cutting time and increase overall installation time. The complexity of the design directly affects how long the project takes.
Preparatory Work: Setting the Stage
Before any tiles on the wall or floor are installed, proper prep work is critical.
"We matched with a great contractor the same day. The whole process was easy and completely free."
1. Surface Preparation & Removal
The removal of old tiles, repairing damaged subfloors, and waterproofing surfaces are often the most underestimated steps. If the surface isn’t smooth, clean, and waterproof, the tiling project can stall or fail later.
2. Materials and Tools
Having the right materials and tools ready—adhesive, spacers, grout, a tile cutter, and leveling systems—helps save time and keeps the project moving quickly and efficiently.
Tile Installation Process & Timeline
This is where the real work happens and where most homeowners start wondering how long it takes to complete the job.
1. Laying the Tiles
For an average size bathroom, laying the tiles may take anywhere from hours to tile a small area to multiple days for larger spaces. Professional tilers often complete this stage faster due to experience and efficiency.
2. Cutting & Adjusting Tiles
Custom cuts around fixtures, drains, and shower pan edges slow things down. Projects involving smaller tiles, mosaic, or intricate patterns naturally take more time.
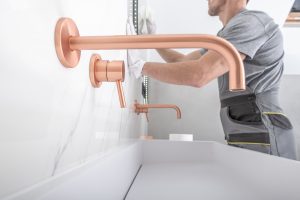
Why Hire a Licensed Professional
- Licensed & insured — protects you from liability
- Warranty coverage — manufacturers require pro installation
- Code compliance — avoids permit issues
- Faster completion — pros finish in days, not weeks
3. Setting & Curing Time
Once tiles are set, adhesive must cure—usually 24 to 48 hours. This waiting period is essential before applying grout and contributes significantly to how long it will take overall.
Finishing Up: Grouting & Final Details
DIY vs. Professional: At a Glance
1. Grouting the Tiles
Grouting fills gaps between tiles and locks everything in place. This step usually takes a few hours but requires drying time before use. Clean-up during grouting is essential for smooth tiling results.
2. Sealing & Finishing Touches
Caulking corners, sealing grout, and final inspections help ensure a beautifully tiled bathroom awaits. These final steps may only take a few hours but are critical for durability.
Spring and summer are the busiest seasons for home improvement projects — top-rated contractors book up fast. Lock in your estimate now before demand peaks.
Check Availability in Your Area →Additional Factors That Affect How Long Tiling Takes
DIY vs. Professional Tile Installation
The biggest difference in time required often comes down to professional vs DIY. A professional tile installer can often complete the job in 3 to 4 days, while a first-time DIYer may need a week or more.
Seasonal Conditions
Humidity and temperature affect drying times. In colder or more humid conditions, materials may require more time to cure, extending the timeline.
Ready to Move Forward?
Tell us about your project and get matched with up to 3 pre-screened contractors. Compare quotes, check reviews, and hire with confidence.
Final Thoughts: How Long Does It Take to Tile a Bathroom?
So, how long does it take to tile a bathroom? For most projects:
-
Professional tile installation: ~3 to 4 days
-
DIY bathroom tiling project: 5–10+ days depending on experience
-
Tile shower or walk-in shower: often longer due to waterproofing and walls
Understanding the factors influencing time—bathroom size, tile size, layout, and labor choice—helps set realistic expectations. Whether you’re renovating a bathroom shower, updating wall tiles, or completing a full bathroom renovation, patience pays off.
A meticulous, well-planned approach ensures a long-lasting finish—and in the end, that beautifully tiled bathroom awaits.
FAQs About Bathroom Tiling
How do I choose the right grout for bathroom tiles?
Choose based on grout line width and tile type. Sanded grout works best for wider joints, while unsanded grout suits narrow lines and smooth finishes.
How do I maintain my new bathroom tiles?
Use mild cleaners, avoid harsh chemicals, and reseal grout periodically—especially in shower tile areas.
Can I tile over existing tiles?
It’s possible, but removing old tiles is usually recommended to ensure proper adhesion and long-term durability.
How can I save money on a bathroom tiling project?
Do some prep work yourself, choose simpler layouts, and compare tile prices. Simpler designs often take less time to tile, reducing labor costs.
Additional Bathroom Remodel Resources
- Homeowner’s Guide for Tub to Shower Conversion
- Choosing the Right Tile for Your Shower
- 14 Bathroom Remodel Ideas

Anna has over six years of experience in the home services and journalism industries and serves as the Content Manager at MyHomePros.com, specializing in making complex home improvement topics like HVAC, roofing, and plumbing accessible to all. With a bachelor’s degree in journalism from Auburn University, she excels in crafting localized, comprehensive guides that cater to homeowners’ unique needs. Living on both coasts of the United States has equipped her with a distinctive perspective, fueling her passion for turning any house into a cherished home through informed, personalized decision-making.
Connect with top-rated local contractors who can help you with siding, roofing, HVAC, windows, and more. Get free quotes from verified professionals in your area today.