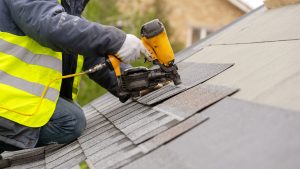
Cutting metal roofing might sound like a job best left to the pros. But with the right tools, it’s something many homeowners can handle. Whether you’re installing a new metal roof, trimming panels to size, or working on a smaller project like a shed, clean cuts are key to getting a tight fit and avoiding future issues.
This guide breaks down exactly how to cut metal roofing safely and effectively, plus when it might make more sense to call in a professional.
Why Properly Cutting Metal Roofing Matters
Getting clean, accurate cuts isn’t just about looks. It directly impacts how your roof performs. Poor cuts can leave jagged edges, make panels harder to install, and even create gaps where water can sneak in. Taking your time and using the right technique helps ensure everything lines up properly, reduces waste, and gives your project a more polished finish.
Types of Metal Roofing You May Need to Cut
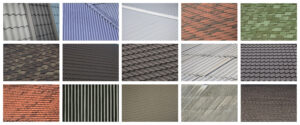
Not all metal roofing is the same, and the type you’re working with can affect how you cut it.
- Corrugated metal panels: Common for sheds and garages, with ridges that require careful cutting
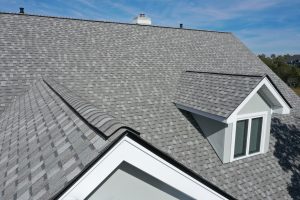
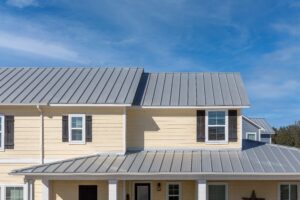
- Standing seam panels: More precise and often used on homes
- Ribbed panels: Similar to corrugated but with flatter sections
You’ll also notice differences in materials. Aluminum is typically easier to cut, while steel is stronger and may require more heavy-duty tools. Thicker panels (lower gauge numbers) will also be tougher to cut than thinner ones.
Best Tools for Cutting Metal Roofing
Using the right tool makes all the difference. Here are the most common options:
- Tin snips: Great for small cuts, corners, or detail work
- Circular saw (with metal blade): Ideal for long, straight cuts
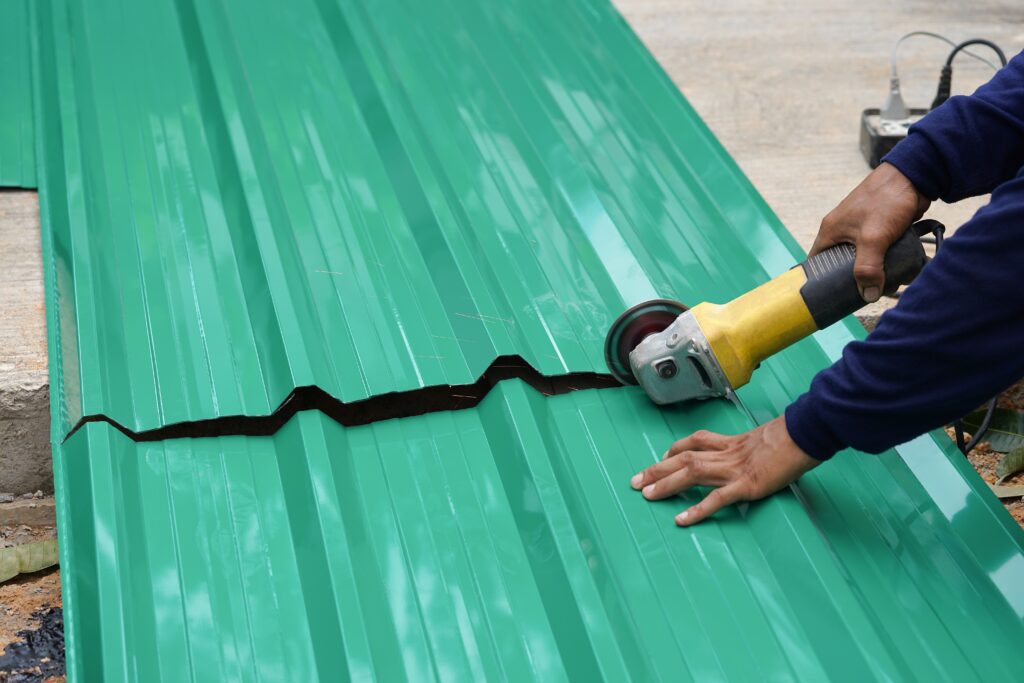
- Angle grinder: Fast and powerful, but produces sparks and heat
- Electric shears or nibblers: Provide the cleanest, most precise cuts
Don’t forget safety gear. Gloves, eye protection, and ear protection are a must when working with metal.
Safety Tips Before You Start
Metal roofing edges are sharp, and power tools can be dangerous if you’re not careful. Before you start cutting:
- Wear gloves and protective eyewear
- Secure your panels so they don’t shift
- Work in a well-ventilated area
- Be mindful of sparks if using a grinder or saw
- Keep your hands clear of cutting paths
A little preparation goes a long way in preventing injuries.
How to Measure and Mark Metal Roofing Panels
Accurate cuts start with accurate measurements. Use a tape measure to determine your cut length, and mark your line with a chalk line or permanent marker. Always double-check your measurements before cutting, especially when working with expensive materials.
Also, keep overlaps in mind. Metal roofing panels often need to overlap slightly to ensure proper water runoff, so factor that into your measurements.
Step-by-Step Guide to Cutting Metal Roofing
1. Choose the Right Tool for the Job
Start by selecting a tool based on your cut. Tin snips work well for small or curved cuts, while circular saws or shears are better for long, straight lines.
2. Secure the Panel
Place the metal panel on a stable surface and clamp it down if possible. This prevents movement and helps ensure a clean, straight cut.
3. Make the Cut
Follow your marked line slowly and steadily. Let the tool do the work. Forcing it can lead to rough edges or damaged panels. Keep your hands steady and your pace consistent.
4. Smooth and Finish Edges
After cutting, check for sharp or rough edges. Use a file or sandpaper to smooth them out if needed, and wipe away any metal shavings to keep the surface clean.
Common Mistakes to Avoid When Cutting Metal Roofing
Using the wrong tool can bend or tear the metal instead of cutting it cleanly. Rushing through cuts often leads to uneven edges, while failing to secure the panel can cause it to shift mid-cut.
It’s also important not to skip safety precautions. Metal edges are sharp, and power tools can be unforgiving. Taking your time and focusing on accuracy will give you much better results.
Tips for Clean, Professional-Looking Cuts
If you want your finished project to look polished, keep these tips in mind:
- Use sharp, high-quality blades or snips
- Cut slowly and avoid forcing the tool
- Fully support the panel to prevent bending
- Practice on scrap material before cutting your final pieces
These small adjustments can make a big difference in the final result.
DIY vs. Hiring a Professional Roofer
Cutting metal roofing can be a manageable DIY task, especially for smaller projects like sheds or simple roof sections. If you’re comfortable using tools and working carefully, you can save money by doing it yourself.
However, for larger roofing projects or more complex installations, hiring a professional is often the better choice. A roofer has the tools and experience to make precise cuts, minimize material waste, and ensure everything fits and seals properly. Mistakes with metal roofing can get expensive quickly, so knowing your limits is important.
Final Thoughts: Cutting Metal Roofing the Right Way
Cutting metal roofing doesn’t have to be complicated, but it does require the right tools, careful measurements, and attention to detail. When done correctly, you’ll get clean cuts that help your roof look great and perform well for years to come.
If you’re ever unsure, it’s always worth getting expert input before moving forward.

Anna has over six years of experience in the home services and journalism industries and serves as the Content Manager at MyHomePros.com, specializing in making complex home improvement topics like HVAC, roofing, and plumbing accessible to all. With a bachelor’s degree in journalism from Auburn University, she excels in crafting localized, comprehensive guides that cater to homeowners’ unique needs. Living on both coasts of the United States has equipped her with a distinctive perspective, fueling her passion for turning any house into a cherished home through informed, personalized decision-making.
Connect with top-rated local contractors who can help you with siding, roofing, HVAC, windows, and more. Get free quotes from verified professionals in your area today.