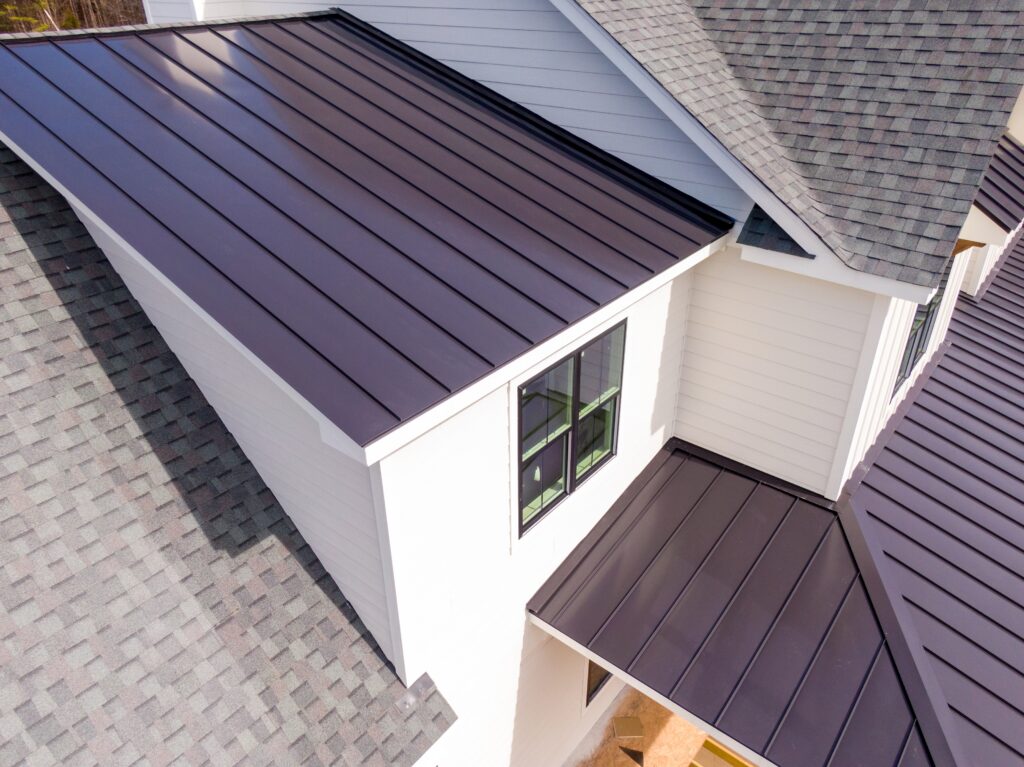
If you’ve invested in a metal roof (or you’re planning to), flashing is one of the most important parts of the entire system. It might not be the most exciting piece of your roof, but it’s what keeps water from sneaking into seams, edges, and penetrations.
A lot of roof leaks don’t come from bad panels. They come from poorly installed flashing. With the right prep and a careful approach, homeowners can understand how flashing works and even handle some basic installations.
Let’s break it down step by step.
What Is Roof Flashing and Why It Matters for Metal Roofs
Roof flashing is thin metal or waterproof material installed around roof edges, joints, and openings. Its main job is simple: direct water away from vulnerable areas.
Metal roofs expand and contract with temperature changes, which means flashing needs to be flexible, properly sealed, and installed with movement in mind. Without it, water can easily find its way under panels and into your attic.
Types of Flashing Used on Metal Roofs
Different areas of your roof require different flashing styles. Here’s what you’ll commonly see:
Drip Edge Flashing
Installed along roof edges, drip edge flashing protects your fascia and directs water into gutters instead of behind them.
Valley Flashing
Used where two roof slopes meet. Valleys handle large amounts of water and need extra protection.
Chimney and Vent Pipe Flashing
These are major leak zones. Pre-formed rubber boots are often used for vent pipes, while chimneys usually require custom flashing and counterflashing.
Sidewall and Step Flashing
Used where the roof meets vertical walls or dormers. These pieces overlap in layers to keep water moving downhill.
Ridge Cap and End Wall Flashing
Installed along the roof peak and termination points to seal the final seams.
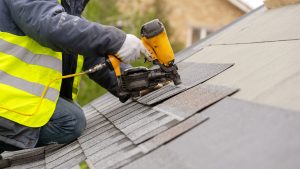
Tools and Materials You’ll Need
Before climbing up, gather everything you’ll need:
- Metal flashing pieces
- Roofing sealant (metal-safe)
- Self-drilling roofing screws
- Tin snips
- Drill or impact driver
- Caulking gun
- Tape measure
- Safety harness and gloves
Having everything ready saves time and prevents rushed mistakes.
Safety Tips Before You Start
Metal roofs can be slippery, especially in the morning or after rain.
- Always use fall protection when possible
- Wear non-slip shoes
- Avoid windy or wet conditions
- Never work alone
If the roof pitch is steep or the area is hard to reach, hiring a professional is often the safer choice.
How to Prepare the Roof for Flashing Installation
Preparation makes a huge difference.
First, inspect the roof deck and underlayment. Make sure everything is clean, dry, and free of debris. Check that your metal panels are aligned properly before adding flashing.
Step-by-Step: How to Install Flashing on a Metal Roof
Here’s a general workflow homeowners can follow.
Step 1 – Install Drip Edge Flashing
Start at the eaves. Lay the drip edge so it slightly overhangs the fascia. Secure it every 8–12 inches using roofing screws. Overlap pieces by at least two inches to prevent water gaps.
Step 2 – Add Valley Flashing (If Needed)
Center the valley flashing where roof slopes meet. Fasten along the edges to allow water to flow freely. Overlap sections and seal joints carefully.
Step 3 – Install Sidewall and Step Flashing
This flashing works in layers. Install each piece so it overlaps the one below it, directing water downward. The key is creating a shingle-style effect where water always flows over the flashing, not behind it.
Step 4 – Install Vent Pipe and Chimney Flashing
For vent pipes, slide the rubber boot flashing over the pipe, seal around the base, and secure it with screws.
Chimneys are more complex and often require custom flashing and counterflashing tucked into masonry joints. This is one area many homeowners choose to leave to professionals.
Step 5 – Secure Ridge Cap and End Wall Flashing
Install ridge cap flashing at the roof peak, overlapping sections and sealing fastener points. End wall flashing should be tucked under panels and sealed to create a watertight termination.
Common Metal Roof Flashing Mistakes to Avoid
Even small errors can lead to leaks. Watch out for:
- Overusing sealant instead of proper overlaps
- Driving screws through water flow paths
- Skipping underlayment integration
- Installing flashing backward or upside down
Flashing should guide water, not trap it.
How to Seal Flashing on a Metal Roof Properly
Use sealants specifically designed for metal roofing. Apply sealant at seams, overlaps, and fastener heads, but don’t rely on sealant alone.
Good flashing relies on mechanical overlaps first, sealant second.
How to Check If Flashing Was Installed Correctly
Once installation is done, inspect your work:
- Look for tight overlaps
- Make sure fasteners are snug but not overdriven
- Check for visible gaps
- Spray water with a hose to test vulnerable areas
Also inspect flashing seasonally to catch small issues early.
DIY vs Hiring a Professional Roofer
DIY flashing installation can work for simple areas like drip edges and vent boots. However, complex flashing around chimneys, valleys, and walls often requires professional experience.
If your roof has multiple penetrations or steep slopes, professional installation usually pays for itself in leak prevention.
Cost to Install Flashing on a Metal Roof
Flashing material costs are relatively affordable, often $2 to $5 per linear foot depending on material type.
Labor costs vary by region and roof complexity, but professional flashing installation can range from a few hundred dollars for small repairs to over $1,000 for full roof detailing.
Considering the cost of water damage, proper flashing is one of the best roofing investments you can make.
Frequently Asked Questions
Can you install flashing after a metal roof is already installed?
Yes, but it’s more complicated. Some flashing can be retrofitted, while other areas may require partial panel removal.
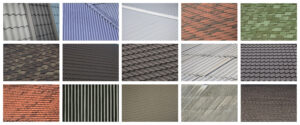
What type of flashing is best for metal roofs?
Aluminum, galvanized steel, and pre-formed rubber boots are commonly used. The best option depends on the location and roof design.
How long does metal roof flashing last?
Quality flashing can last 20–40 years when installed correctly and maintained.
Do metal roofs need flashing around chimneys and vents?
Absolutely. These areas are among the most common leak points and require proper flashing systems.
Final Thoughts
Flashing might not be the most visible part of your metal roof, but it’s one of the most important. Taking the time to install it correctly protects your home from leaks, moisture damage, and costly repairs.
Whether you tackle parts of the job yourself or bring in a professional, understanding how flashing works helps you make smarter decisions and keeps your metal roof performing the way it should.

Anna has over six years of experience in the home services and journalism industries and serves as the Content Manager at MyHomePros.com, specializing in making complex home improvement topics like HVAC, roofing, and plumbing accessible to all. With a bachelor’s degree in journalism from Auburn University, she excels in crafting localized, comprehensive guides that cater to homeowners’ unique needs. Living on both coasts of the United States has equipped her with a distinctive perspective, fueling her passion for turning any house into a cherished home through informed, personalized decision-making.
Connect with top-rated local contractors who can help you with siding, roofing, HVAC, windows, and more. Get free quotes from verified professionals in your area today.