Ordering too little flooring means a mid-project stop while you wait on a second shipment that may not match your original batch. Ordering too much means paying for material that sits in your garage. Either way, the mistake starts with measurement.
Getting the square footage right, applying the correct waste factor for your flooring type, and converting that number into boxes are three separate steps that most guides gloss over. This article walks through each one so you can order the right amount of flooring the first time, whether you are covering a single bedroom or three rooms at once.
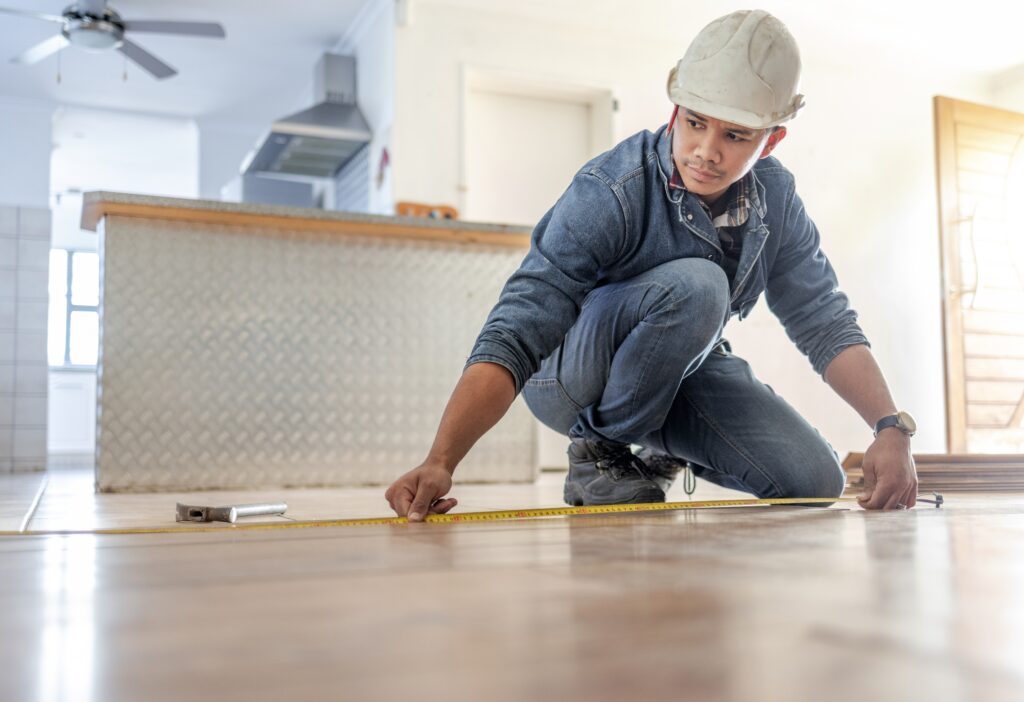
What Tools Do You Need to Measure a Room for Flooring?
A 25-foot tape measure, graph paper, and a pencil are the minimum tools needed to measure any room for a flooring project.
You do not need expensive equipment for accurate measurements. A standard retractable tape measure handles most residential rooms. A laser distance measurer speeds up the process in larger or open-concept spaces, but it is not required.
Gather these items before you start:
- 25-foot tape measure (or longer for open floor plans)
- Pencil and graph paper (or a note-taking app)
- Calculator
- Painter’s tape or chalk to mark section dividers in irregular rooms
- Laser distance measurer (optional, useful for rooms over 20 feet in any direction)
Sketch each room before measuring. Label walls, doorways, closets, and any permanent fixtures like islands or built-in cabinets. This sketch becomes your reference when you calculate square footage later.
How Do You Calculate Square Footage for a Rectangular Room?
Multiply the room’s length by its width in feet to get total square footage, rounding each measurement up to the nearest inch.
For a standard rectangular room, the formula is simple. Measure from wall to wall (not baseboard to baseboard, since flooring tucks under the baseboard or quarter round). Take the length measurement along the longest wall and the width measurement along the adjacent wall.
Actual costs depend on your location, project scope, and materials. The best way to know what you'll pay is to get quotes from local contractors.
Get Your Free Estimate →Converting Inches to Decimal Feet
Most rooms do not measure in clean, whole numbers. If your room is 14 feet 7 inches long, divide the inch portion by 12 to convert it into a decimal. In this case, 7 divided by 12 equals 0.58, giving you 14.58 feet. Multiply that by your width measurement the same way.
Example: A room measuring 14 feet 7 inches by 11 feet 3 inches converts to 14.58 × 11.25 = 164.03 square feet.
Take measurements at two or three points along each wall. Walls are rarely perfectly parallel, and using the largest measurement ensures you will not come up short.
How Do You Measure Irregularly Shaped Rooms?
Break any non-rectangular room into smaller rectangles, measure each section separately, and add the areas together for a combined total.
L-shaped rooms, hallways with bump-outs, and rooms with alcoves all follow the same principle. Instead of trying to capture the whole space in one measurement, divide it into sections that are each rectangular or square.
Step-by-Step Process for L-Shaped and Complex Rooms
- Stand at the entrance and identify natural dividing lines. Use painter’s tape to mark where one section ends and the next begins.
- Measure the length and width of each rectangular section.
- Calculate the square footage of each section individually.
- Add all sections together for the total room area.
Example: An L-shaped living room splits into two rectangles. Section A measures 15 × 12 feet (180 sq ft). Section B measures 8 × 10 feet (80 sq ft). Total area: 260 square feet.
For rooms with angled walls or bay windows, create the smallest rectangle that fully contains the angled area. The small amount of extra material this adds works in your favor since those angles require more cuts during flooring installation.
"We matched with a great contractor the same day. The whole process was easy and completely free."
Should You Subtract Cabinets, Islands, and Other Fixed Objects?
Subtract permanent built-ins only if they are anchored to the subfloor and will never be removed, such as kitchen islands or load-bearing columns.
Most flooring professionals recommend against subtracting toilets, vanities, or freestanding appliances. These items can be replaced during a future renovation, and running flooring beneath them creates a cleaner result.
For large permanent structures, measure the footprint and subtract that number from your room total. A kitchen island that occupies 15 square feet, for example, can be subtracted from a 200 square foot kitchen to bring the net area to 185 square feet.
Pro Tip: When measuring different types of flooring for kitchens, do not subtract the dishwasher or refrigerator footprint. These appliances sit on top of the flooring and will eventually need to slide out for service or replacement.
What Is a Waste Factor and Why Does It Matter?
A waste factor is the extra material (as a percentage) added to your net square footage to cover cuts, fitting errors, and damaged pieces.
Every flooring installation produces waste. End cuts along walls, pieces that crack during cutting, planks with cosmetic defects pulled from the box, and the trimming required around door frames all consume material that does not end up on your finished floor. The waste factor accounts for this before you place your order.
Skipping the waste factor, or underestimating it, is one of the most common flooring installation mistakes. Running short mid-project forces you to reorder, which risks dye-lot differences and adds lead time that stalls the job.
Waste Factor by Flooring Type and Layout
The percentage you add depends on the material, the installation pattern, and the complexity of your room layout.
| Flooring Type / Layout | Recommended Waste Factor |
|---|---|
| Laminate, straight lay, simple room | 5% to 7% |
| Hardwood or engineered wood, straight lay | 5% to 10% |
| LVP or LVT, straight lay | 5% to 8% |
| Tile (under 13″ × 13″), straight lay | 5% to 8% |
| Tile (over 13″ × 13″), straight lay | 8% to 10% |
| Any flooring, diagonal (45°) layout | 15% |
| Herringbone or chevron pattern | 15% to 20% |
| Carpet (seamed installation) | 15% to 20% |
| Any material, rooms with many angles or obstacles | 15% to 20% |
For most standard laminate flooring or LVP flooring installations in rectangular rooms, 10% is a safe general figure. Use the lower end of the range if you are an experienced installer working in a simple space. Use the higher end if you are tackling a DIY project for the first time or the room has closets, alcoves, or multiple doorways.
How to Apply the Waste Factor
Multiply your total net square footage by the waste percentage (as a decimal), then add that number to your original total.
Formula: Net Square Footage × (1 + Waste Factor) = Total Square Footage to Order
Example: A room measures 200 square feet. You are installing hardwood in a straight lay with a few closets. You choose a 10% waste factor.
200 × 1.10 = 220 square feet to order.
Why Hire a Licensed Professional
- Licensed & insured — protects you from liability
- Warranty coverage — manufacturers require pro installation
- Code compliance — avoids permit issues
- Faster completion — pros finish in days, not weeks
How Do You Calculate Square Footage for Multiple Rooms?
Measure each room individually, calculate its square footage, then add all rooms together before applying a single waste factor to the combined total.
Applying the waste factor once to the combined total (rather than room by room) is more accurate because leftover cuts from one room can sometimes be used in the next. That said, if rooms are being installed on different days or by different crews, apply the waste factor to each room separately so each space has its own material buffer.
| Room | Length (ft) | Width (ft) | Area (sq ft) |
|---|---|---|---|
| Living Room | 18 | 14 | 252 |
| Hallway | 15 | 4 | 60 |
| Bedroom | 12 | 11 | 132 |
| Combined Total | 444 |
With a 10% waste factor: 444 × 1.10 = 488.4 square feet to order (round up to 489).
When ordering material for multiple rooms, purchase everything from the same production lot. Color and texture can vary between manufacturing runs, even within the same product line. Knowing what to expect during flooring installation across multiple spaces helps you plan delivery and staging.
How Do You Convert Square Footage to Boxes of Flooring?
Divide your total square footage (including waste) by the coverage per box listed on the product packaging, then round up to the next whole box.
Flooring is sold by the box, and each box covers a set number of square feet. This number varies by product. Most hardwood flooring boxes cover 20 to 25 square feet. Laminate and LVP boxes typically cover 18 to 24 square feet. Tile boxes range from 10 to 15 square feet depending on tile size.
DIY vs. Professional: At a Glance
Box Calculation Formula
Total Square Footage ÷ Coverage Per Box = Number of Boxes (round up)
Example: You need 489 square feet of LVP. The product you selected covers 23.64 square feet per box.
489 ÷ 23.64 = 20.68 boxes. Round up to 21 boxes.
Important: Always round up. Partial boxes cannot be purchased from most retailers, and coming up one box short is far more expensive (in time and batch-matching risk) than having a few extra planks. Keeping leftover planks also gives you replacement material if a section is damaged after installation.
Quick Reference: Common Box Coverage Ranges
| Flooring Material | Typical Box Coverage |
|---|---|
| Solid hardwood | 20 to 25 sq ft |
| Engineered hardwood | 20 to 25 sq ft |
| Laminate | 18 to 24 sq ft |
| Luxury vinyl plank (LVP) | 18 to 24 sq ft |
| Luxury vinyl tile (LVT) | 20 to 30 sq ft |
| Porcelain or ceramic tile | 10 to 15 sq ft |
These ranges are general. Check the specific product’s packaging or product page for exact coverage. Box sizes differ between manufacturers and even between product lines from the same brand.
What Is the Complete Formula from Room Measurement to Flooring Order?
The full calculation is three steps: measure the room, apply the waste factor, then divide by box coverage to get your order quantity.
Here is the complete process in one sequence, using a real-world example:
Spring and summer are the busiest seasons for home improvement projects — top-rated contractors book up fast. Lock in your estimate now before demand peaks.
Check Availability in Your Area →Example
Room: An L-shaped living and dining area.
Step 1: Measure and calculate net area. Section A (living room): 16 × 13 = 208 sq ft. Section B (dining area): 10 × 12 = 120 sq ft. Net area: 208 + 120 = 328 sq ft.
Step 2: Apply waste factor. You are installing tile flooring (12″ × 24″) in a straight lay with a few doorways. You choose 10%. 328 × 1.10 = 360.8 sq ft (round up to 361).
Step 3: Convert to boxes. Your chosen tile covers 14 sq ft per box. 361 ÷ 14 = 25.79 boxes. Round up to 26 boxes.
This three-step sequence works for any flooring type. Only the waste percentage and box coverage change based on the material and layout pattern.
What Mistakes Should You Avoid When Measuring for Flooring?
The most common errors are rounding down, forgetting closets, measuring from baseboard to baseboard, and skipping the waste factor.
Each of these mistakes leads to the same result: not enough flooring to finish the job. Here are the ones that trip up homeowners most often.
- Measuring from baseboard to baseboard. Flooring extends under the baseboard or quarter round. Always measure from wall to wall for the true room dimensions.
- Forgetting closets and alcoves. Walk-in closets, pantries, and entryway nooks all need flooring too. Measure them as separate rectangles and add them to your total.
- Rounding measurements down. When a wall measures 11 feet 9 inches, rounding down to 11 feet 6 inches can cost you several square feet across the room. Always round up to the nearest inch or use the exact decimal conversion.
- Using different measurement units. Mixing feet and inches without converting leads to calculation errors. Convert everything to decimal feet or everything to inches before multiplying.
- Skipping the waste factor. Even experienced installers generate waste. A 0% waste assumption only works in theory.
If you are choosing a flooring contractor rather than DIYing, a reputable installer will verify your measurements before ordering. Providing your own measurements as a starting point speeds up the quoting process and helps you evaluate whether their estimate makes sense.
Ready to Move Forward?
Tell us about your project and get matched with up to 3 pre-screened contractors. Compare quotes, check reviews, and hire with confidence.
How Do You Convert Between Square Feet and Square Yards?
Divide your total square footage by nine to convert to square yards, which is the standard purchasing unit for carpet flooring.
Most hard-surface flooring (hardwood, laminate, tile, vinyl plank) is priced and sold by the square foot. Carpet, however, is still commonly sold by the square yard. One square yard equals nine square feet.
Example: A bedroom measures 144 square feet. Divided by 9, that equals 16 square yards of carpet.
Carpet also comes in standard roll widths (typically 12 feet). If your room is wider than 12 feet, you will need a seam. The placement of that seam affects waste, so carpet waste factors tend to run higher (15% to 20%) than hard-surface materials. Discuss seam placement with your installer before finalizing your order.
When Should You Hire a Professional to Measure?
Hire a professional measurer when your project spans three or more rooms, involves complex shapes, or includes stairs and transitions.
Many flooring retailers offer free or low-cost measurement services, and the cost is often credited toward your purchase. A professional flooring installer brings a laser measurer, accounts for transition strips between rooms, and factors in material direction and pattern alignment that affect waste.
For a single rectangular room, DIY measuring is straightforward. For whole-house projects or rooms with curved walls, bay windows, and stairways, a professional measurement pays for itself by preventing ordering errors.
Bottom Line
The difference between a smooth flooring project and a frustrating one often comes down to three numbers. Your net square footage, the right waste factor for your material and layout, and the box coverage for your chosen product. Get those right, and your order will match your project. Double-check every measurement before you buy, and keep a few extra planks or tiles on hand for repairs down the road.

Anna has over six years of experience in the home services and journalism industries and serves as the Content Manager at MyHomePros.com, specializing in making complex home improvement topics like HVAC, roofing, and plumbing accessible to all. With a bachelor’s degree in journalism from Auburn University, she excels in crafting localized, comprehensive guides that cater to homeowners’ unique needs. Living on both coasts of the United States has equipped her with a distinctive perspective, fueling her passion for turning any house into a cherished home through informed, personalized decision-making.
Connect with top-rated local contractors who can help you with siding, roofing, HVAC, windows, and more. Get free quotes from verified professionals in your area today.