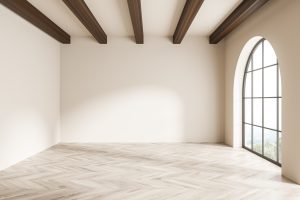
Choosing the wrong direction or stagger pattern can make a brand-new floor look cheap, feel unstable, or visually shrink an entire room. A few proven rules take the guesswork out of both decisions. This guide walks you through how to pick the right plank direction for any room, how to stagger end joints for a natural look, and the common pattern mistakes that separate a professional result from a DIY headache.
What Are the Rules for Choosing Flooring Direction?
Joist direction, the longest wall, and natural light are the three factors that determine which way your flooring planks should run.
Those three principles cover nearly every residential scenario, but they are not equal. Some are structural requirements. Others are aesthetic preferences. When two rules conflict, the hierarchy below tells you which one wins.
Priority 1: Run Perpendicular to Floor Joists (Structural)
On a traditional wood-framed subfloor with joists spaced 16 inches on center, solid hardwood planks must run perpendicular to those joists. Installing parallel to the joists concentrates weight between supports, which leads to sagging, bounce, and squeaking over time. This rule is non-negotiable for 3/4-inch solid hardwood nailed directly to a plywood subfloor.
Engineered hardwood, laminate, and luxury vinyl plank (LVP) installed over a concrete slab or with a floating method are not bound by this rule, since they do not rely on joist support in the same way.
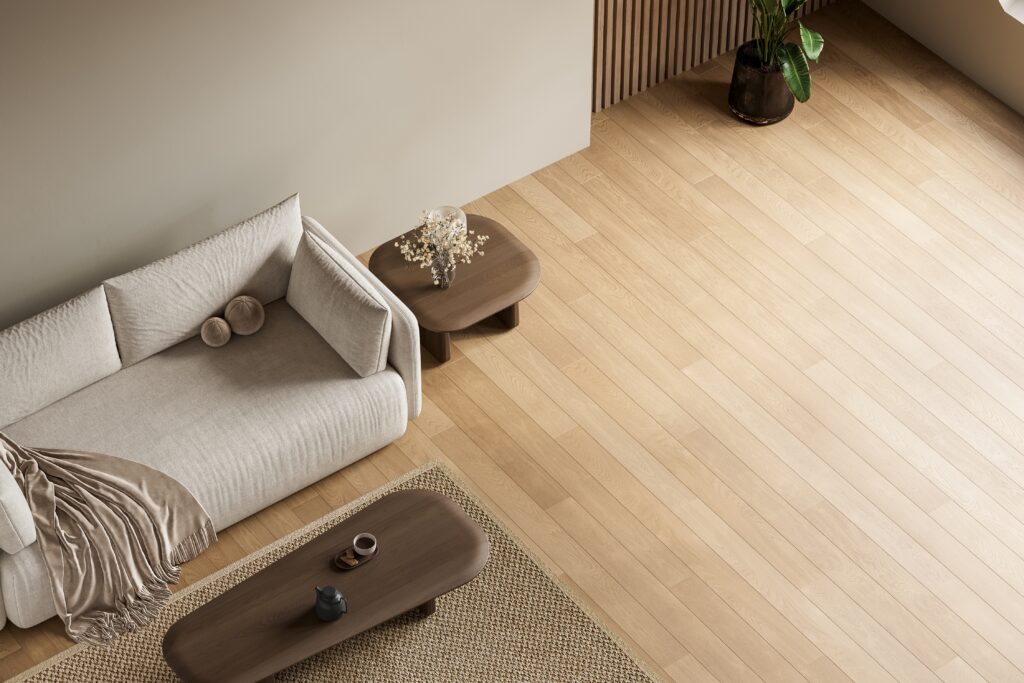
Priority 2: Run Parallel to the Longest Wall (Visual)
Running planks along the longest wall makes a room feel larger and more open. The eye follows the unbroken plank lines, creating a sense of depth that shorter cross-directional runs cannot match. This is the single most common layout recommendation across the flooring industry for a reason: it works in most standard rectangular rooms without any downside.
Priority 3: Run Toward the Primary Light Source (Aesthetic)
When natural light hits the floor, it casts micro-shadows along the beveled edges between planks. Running boards in the same direction as the light minimizes those shadows, giving the floor a smoother, more seamless appearance. This rule matters most with textured or wire-brushed finishes where bevels are more pronounced. On flat, smooth-finish planks, the effect is less noticeable.
Direction Decision Matrix
| Priority | Decision Factor | Why It Wins |
|---|---|---|
| 1 (Mandatory) | Perpendicular to floor joists | Prevents structural sagging on wood-framed subfloors |
| 2 (Aesthetic) | Parallel to the longest wall | Makes rooms appear larger and more cohesive |
| 3 (Aesthetic) | Toward the primary light source | Minimizes shadows between plank edges |
When two aesthetic rules conflict (for example, the longest wall runs perpendicular to the windows), default to the longest wall. The size illusion typically has a bigger impact than shadow reduction. If your room is nearly square, default to the light source instead.
How Should You Handle Direction in Different Room Types?
Hallways run lengthwise, open-concept homes need one continuous sightline, and room transitions may call for a threshold strip.
Narrow Hallways
Always run planks lengthwise down the hall. Cross-directional installation creates what installers call the “ladder effect,” where repeating short plank ends make the hallway feel choppy and shorter than it actually is. In hallways, the end joints are highly visible, so avoiding common flooring installation mistakes with your stagger pattern is especially important here.
Open-Concept Homes
Pick a single direction based on the longest sightline from the main entrance and carry it through every connected space. This creates a continuous flow that unifies the floor plan. The moment you break direction or introduce an unnecessary transition strip, the eye stops and the room feels segmented.
If you are choosing flooring for every room in your home, plan the direction from the front door outward before purchasing materials. Changing your mind mid-installation is costly.
Connecting Dissimilar Rooms
When rooms branch off a hallway at odd angles or when flooring types change (hardwood to tile, for example), use a T-molding or reducer strip at the threshold. This gives you a clean visual break and lets you change direction without an awkward plank collision. Rooms with separate entrances and no shared sightline, like a home office off a side hallway, are the easiest candidates for a direction change.
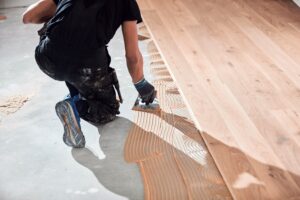
How Do You Stagger Wood Flooring Correctly?
Offset end joints by at least 6 inches between adjacent rows, pull planks from multiple boxes, and use each row’s cut-off piece to start the next.
Staggering refers to the offset pattern of end joints (the short seams where two planks meet within the same row). A properly staggered floor distributes those joints across the surface so no two adjacent rows have end joints that line up. The result is a floor that looks natural and performs better structurally.
The Minimum Stagger Distance
Most manufacturers require a minimum of 6 inches between end joints in adjacent rows. Some premium hardwood and longer-format planks specify 8 to 12 inches. Always check the installation guide for your specific product, because failing to meet the minimum offset can void your warranty.
Step-by-Step Stagger Method
- Lay the first row along your starting wall, leaving a 1/4-inch expansion gap between the planks and the wall.
- When you cut the last plank to fit at the end of row one, use that leftover piece to start row two, provided it is at least 8 inches long. This naturally creates offset without any extra cutting.
- Before starting row three, check that its first end joint is at least 6 inches away from the end joints in both rows one and two.
- Continue this pattern, always verifying offset distances as you go.
Rack the Floor Before You Fasten
Pro Tip: Before nailing, gluing, or clicking a single plank into place, dry-lay 4 to 5 rows of boards loose on the floor. This process, called “racking,” lets you see the stagger pattern, spot color clusters, and catch alignment problems before they become permanent. It takes 15 minutes and saves hours of frustration.
Randomize Color and Grain
Open 3 to 4 boxes of flooring at once and pull planks from different boxes as you work. Natural wood products vary in shade and grain from box to box. If you install one box at a time, you can end up with a noticeable color shift halfway across the room. Mixing boxes distributes those variations evenly.
Understanding what to expect during flooring installation helps you plan for these details before the project starts.
What Are the Staggering Mistakes That Ruin a Floor?
H-joints, stair-step patterns, and clustered short boards are the three most common stagger failures, all caused by poor end joint placement.
The H-Joint
An H-joint happens when end joints align in every other row, forming a visible “H” shape on the floor. This is the most common mistake, and it weakens the floor at those alignment points. If you are using the cut-off method described above and your leftover pieces keep landing at the same length, deliberately trim a few inches off to break the pattern.
The Stair-Step (Lightning Bolt)
When each row’s end joint shifts by exactly the same distance, the joints form a perfectly even descending staircase across the floor. It looks deliberate and manufactured. The fix is to vary your starting plank lengths. Instead of always cutting the same amount off, alternate between one-third, one-half, and two-thirds of a full plank length.
Clustered Short Boards
Grouping too many short planks in one area, especially near a doorway or in the center of a room, creates a weak zone both visually and structurally. Keep a minimum plank length of 8 inches at every starting and ending position. If a cutoff piece is shorter than 8 inches, set it aside for use in a closet or under a cabinet.
These are among the questions worth asking before choosing your floors that separate an amateur result from a floor that looks like a professional crew laid it.
What Are the Advanced Floor Laying Patterns Beyond a Straight Lay?
Diagonal, herringbone, and chevron patterns add visual interest but require more material, precise cuts, and higher labor costs.
Diagonal Installation
Installing planks at a 45-degree angle to the walls can tie together irregularly shaped rooms or make small spaces feel more dynamic. Expect 10% to 15% more material waste compared to a straight lay, and plan for longer installation time since every wall-edge cut is an angle cut.
Herringbone and Chevron
Herringbone arranges short planks in a repeating V-shaped zigzag, while chevron cuts the plank ends at matching angles so they form a clean point. Both patterns add a high-end, architectural feel and work especially well in kitchens and entryways where a statement floor can anchor the design. However, they cost significantly more to install and are best handled by an experienced installer.
If you are weighing the cost of different flooring approaches, a flooring installation cost guide can help you compare material and labor expenses across patterns and materials.
Does Flooring Direction Affect Home Value?
Yes. A continuous, well-laid floor with consistent direction and proper staggering signals quality craftsmanship to buyers and appraisers.
Flooring is one of the first things buyers notice when they walk through a home. A floor that flows in a logical direction without unnecessary transition strips, visible H-joints, or color banding communicates that the home was maintained with care. Conversely, a floor with obvious pattern mistakes or choppy direction changes can raise red flags during a showing, even if the flooring material itself is high quality.
Choosing the right product matters too. Some flooring types increase home value more than others, and how well that product is installed has a direct impact on the return you see at resale.
After installation, proper care protects your investment. Following a few tips to make your flooring last longer ensures the stagger pattern stays tight and the surface stays presentable for years.
Putting It All Together
Getting the direction and stagger right does not require professional training, but it does require a plan. Before you open a single box of flooring, identify your joist direction (if applicable), pick your longest sightline, check your light sources, and dry-lay several rows to preview the pattern.
The most important steps to remember:
- Solid hardwood over wood joists must run perpendicular to those joists.
- Default to the longest wall for direction in rectangular rooms.
- Maintain at least a 6-inch offset between end joints in adjacent rows.
- Rack 4 to 5 rows before fastening anything.
- Mix planks from multiple boxes to distribute color variation.
- Never let a starting or ending plank be shorter than 8 inches.
A well-planned layout takes an extra 30 minutes at the start of the project. A poorly planned one takes days to fix after the floor is down.
If the layout planning feels like more than you want to tackle on your own, a local flooring installer can handle direction, stagger, and subfloor prep in a single visit. Get free estimates from vetted flooring pros in your area to compare pricing before you commit.

Anna has over six years of experience in the home services and journalism industries and serves as the Content Manager at MyHomePros.com, specializing in making complex home improvement topics like HVAC, roofing, and plumbing accessible to all. With a bachelor’s degree in journalism from Auburn University, she excels in crafting localized, comprehensive guides that cater to homeowners’ unique needs. Living on both coasts of the United States has equipped her with a distinctive perspective, fueling her passion for turning any house into a cherished home through informed, personalized decision-making.
Connect with top-rated local contractors who can help you with siding, roofing, HVAC, windows, and more. Get free quotes from verified professionals in your area today.