


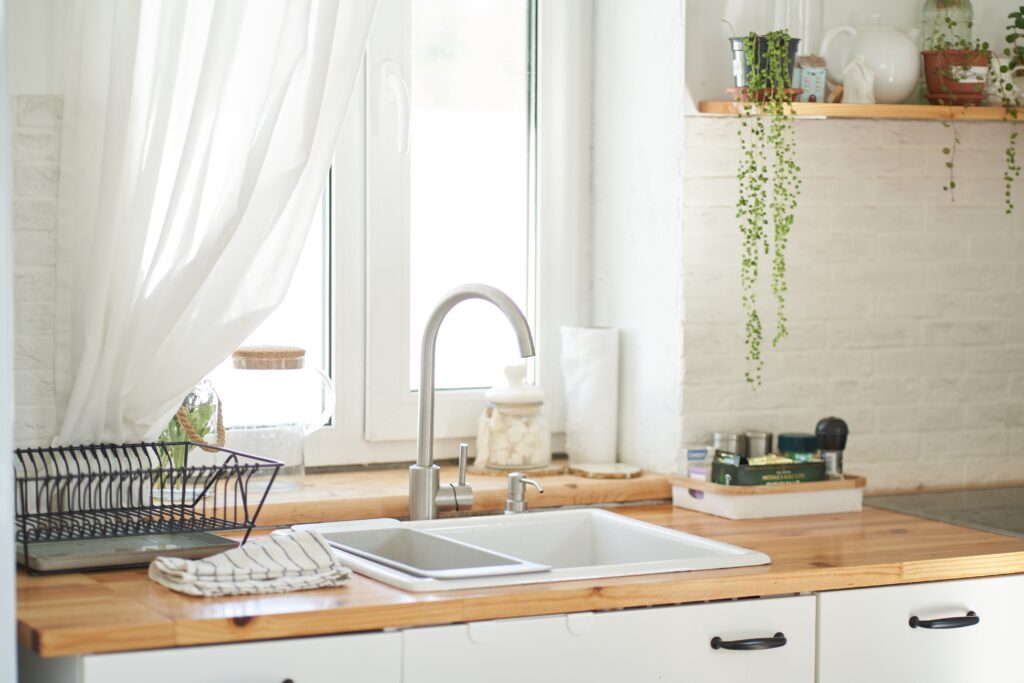
Installing a kitchen sink is one of the most rewarding DIY plumbing projects you can tackle, but it is also one of the easiest to get wrong. A single misaligned washer or a forgotten shut-off valve can turn a weekend upgrade into a flooded cabinet.
Whether you are replacing a worn-out drop-in sink or connecting plumbing for a brand-new installation, the steps below will help you get it right the first time.
Most homeowners with basic tool experience can complete a standard sink replacement in three to five hours. If your project requires rerouting drain lines or cutting into the wall, hiring a licensed plumber is the safer choice.
What Are the Parts of a Kitchen Sink Plumbing System?
A kitchen sink plumbing system has two sides: supply lines that deliver water and a drain assembly that removes it.
Understanding these components before you start will save time during installation and make troubleshooting leaks far easier.
The Water Supply Lines
Two shut-off valves sit inside the sink cabinet, one for hot water and one for cold. Each valve connects to the faucet above through a 3/8-inch braided stainless steel supply hose. These flexible hoses replaced rigid chromed copper tubes in most modern installations because they resist corrosion and are easier to route in tight spaces.
Before any work begins, locate both shut-off valves and confirm they actually stop the water flow. Older gate valves can seize open after years of disuse. If a valve does not close fully, you will need to shut off the main water supply to the house instead.
The Drain Assembly
The drain side starts at the strainer basket, the chrome or brushed-nickel ring visible inside the sink basin. Below the strainer, a vertical pipe called the tailpiece drops down into the P-trap. The P-trap is the curved section of pipe shaped like the letter “P” (or “U” when viewed from the front). It holds a small amount of standing water at all times, creating a seal that blocks sewer gases from rising into your kitchen.
Standard residential kitchen drains use 1 1/2-inch PVC slip-joint pipes. Each connection point uses a slip nut and a tapered nylon or rubber washer to create a watertight seal without glue.
The Garbage Disposal Connection
If your sink includes a garbage disposal, the dishwasher drain hose connects to a small inlet on the side of the disposal unit. New disposals ship with a plastic knockout plug blocking this inlet from the factory.
Pro Tip: If you are installing a new garbage disposal and connecting a dishwasher, you must use a hammer and screwdriver to punch out the plastic knockout plug inside the disposal’s dishwasher inlet. Forgetting this step is the number one reason new dishwasher installations flood the kitchen floor.
What Tools and Materials Do You Need for Kitchen Sink Installation?
A standard kitchen sink replacement requires about $30 to $60 in materials and a small set of specialized plumbing tools.
Gathering everything before you start prevents mid-project trips to the hardware store, which is the second most common reason DIY sink installations stall.
Actual costs depend on your location, project scope, and materials. The best way to know what you'll pay is to get quotes from local contractors.
Get Your Free Estimate →Required Tools
- Basin wrench: The single most important tool for this job. Its long shaft and swiveling jaw let you reach faucet mounting nuts in the tight space between the sink and the back wall of the cabinet.
- Adjustable wrench (two): One to hold the fitting, one to tighten the nut.
- Channel-lock pliers: For slip nuts on the drain assembly.
- Putty knife: To scrape old caulk and plumber’s putty from the countertop.
- Bucket and rags: To catch residual water when disconnecting supply lines and the P-trap.
- Flashlight or headlamp: Cabinet interiors are dark, and you need both hands free.
Required Materials
- Plumber’s putty: For sealing the strainer basket to the sink basin.
- 100% silicone sealant: For sealing the sink rim to the countertop.
- Teflon tape (plumber’s tape): For wrapping threaded connections on the supply side.
- PVC slip-joint nuts and washers: Replace any that show cracks or compression damage.
- Braided stainless steel supply hoses: Replace old hoses if they are more than 10 years old or show signs of corrosion at the fittings.
When to Use Putty vs. Silicone
One of the most common points of confusion for DIYers is knowing when to use plumber’s putty versus silicone sealant. Using the wrong product in the wrong location can cause stains, leaks, or parts that cannot be serviced later.
| Material | Where to Use It | Where NOT to Use It |
|---|---|---|
| Plumber’s Putty | Under the strainer basket rim. Around the base of the faucet on non-porous countertops. | Never on porous stone such as granite or marble. The oils in putty will permanently stain natural stone. Never on pressurized water connections. |
| 100% Silicone Sealant | Between the sink rim and the countertop. Strainer baskets on granite, marble, or quartz countertops. | Anywhere parts need to be unscrewed or adjusted later. Silicone creates a permanent bond that makes future disassembly difficult. |
How Do You Remove an Old Kitchen Sink?
Removing the old sink takes 30 to 60 minutes and involves disconnecting supply lines, the drain, and the mounting hardware.
The biggest risk during removal is water damage from lines that were not fully drained. Work slowly and keep a bucket positioned under every connection you loosen.
"We matched with a great contractor the same day. The whole process was easy and completely free."
Step 1: Shut Off the Water and Drain the Lines
Turn both shut-off valves clockwise until they stop. Open the faucet to release any remaining water pressure. Place a bucket under the supply connections, then use an adjustable wrench to disconnect the braided hoses from the shut-off valves. Let the residual water drain into the bucket.
Step 2: Disconnect the Drain and Disposal
Loosen the slip nuts on the P-trap using channel-lock pliers. Pull the trap down and empty the standing water into your bucket. If you have a garbage disposal, unplug it from the outlet (or switch off the circuit breaker if it is hardwired) before disconnecting its drain fittings. Disconnect the dishwasher drain hose from the disposal inlet if one is present.
Step 3: Break the Seal and Lift the Sink
Use a putty knife to slice through the old caulk or silicone bead between the sink rim and the countertop. For drop-in sinks, reach underneath and loosen the mounting clips with a screwdriver or socket. Once all clips are released and the sealant is cut, push up from below and lift the sink straight out.
Cast iron sinks can weigh 60 to 80 pounds. Have a second person help you lift to avoid dropping the sink and cracking the countertop.
How Do You Install a New Kitchen Sink?
A drop-in sink replacement takes one to two hours if the new sink matches the existing countertop cutout dimensions.
Install the faucet, strainer baskets, and soap dispenser while the sink is still upside down on a padded surface. Working on the floor is far easier than reaching up into a dark cabinet.
Drop-In vs. Undermount: Which Can You DIY?
Drop-in (top-mount) sinks rest on the countertop with a visible rim. They are the most DIY-friendly option because they require no special countertop modifications beyond a standard rectangular cutout.
Undermount sinks attach to the underside of the countertop with clips and adhesive. If you are replacing an undermount sink in an existing granite or quartz countertop that already has the cutout, you can handle it yourself. If the countertop needs a new cutout, hire a fabricator. One wrong cut in a $3,000 quartz slab is an expensive lesson.
Attach All Hardware Before Dropping the Sink In
Set the new sink upside down on a moving blanket or thick towels. Install the faucet, soap dispenser, and strainer baskets from this position. Thread the supply hoses through the faucet mounting holes and hand-tighten the mounting nuts. Install the strainer basket by applying a rope of plumber’s putty under the flange, pressing it into the drain hole, and tightening the locknut from underneath.
This step alone saves 30 to 45 minutes of awkward under-cabinet work.
Set the Sink Into the Countertop
Run a continuous bead of 100% silicone sealant around the countertop cutout, about 1/4 inch from the edge. Carefully lower the sink into the opening and press down firmly to seat it into the sealant. Check that the front edge of the sink is parallel to the front edge of the countertop before the silicone begins to set.
Tighten the mounting clips underneath, working in a cross pattern (opposite corners) to distribute pressure evenly. Wipe away excess silicone with a damp rag.
Why Hire a Licensed Professional
- Licensed & insured — protects you from liability
- Warranty coverage — manufacturers require pro installation
- Code compliance — avoids permit issues
- Faster completion — pros finish in days, not weeks
How Do You Hook Up the Plumbing Without Leaks?
Leak-free plumbing connections depend on proper washer orientation and controlled hand-tightening, not brute force.
Overtightening plastic slip-joint nuts is the most common cause of drain leaks. The excess force crushes the tapered washer, which then fails to seal.
Reconnecting the Supply Lines
Wrap three to four turns of Teflon tape clockwise around the threads of each shut-off valve. Connect the braided supply hoses to the valves and hand-tighten, then add a quarter-turn with an adjustable wrench. Connect the other ends to the faucet tailpieces the same way.
Do not over-torque these connections. Braided hoses have rubber washers inside the coupling nut that compress to create the seal. Cranking down too hard can split the washer and cause a slow drip.
Building the Drain Assembly
Dry-fit all drain pipes before tightening anything. Measure and cut the 1 1/2-inch PVC tailpiece to the correct length using a hacksaw or PVC pipe cutter. Connect the tailpiece to the strainer basket, then assemble the P-trap.
When installing tapered slip-joint washers, the beveled (angled) edge must face toward the fitting you are pushing the pipe into. If you install the washer backwards, the joint will leak no matter how tight you make the slip nut.
Critical Warning: Always orient the beveled edge of the slip-joint washer toward the fitting. The flat side faces the pipe, and the tapered side slides into the receiving end of the next fitting. This is the single most common assembly mistake on drain connections.
Connect the P-trap outlet arm to the drain stub-out in the wall. The trap arm should slope slightly downward toward the wall, roughly 1/4 inch of drop per foot, to ensure proper drainage.
DIY vs. Professional: At a Glance
Testing for Leaks: The Paper Towel Method
Before you declare the job finished, test every connection. Lay dry paper towels flat across the cabinet floor directly under all joints and fittings. Fill both sink basins completely with water, then pull both stoppers at the same time to send a high-volume surge through the entire drain system.
Wait five minutes, then check every paper towel for moisture. This method catches micro-leaks that a quick visual inspection would miss. If you find a wet spot, tighten only the fitting directly above it by a quarter-turn. Retighten and retest until every towel stays dry.
How Do You Fix Common Kitchen Sink Plumbing Problems?
Most kitchen sink plumbing problems involve the strainer basket, the P-trap, or the faucet aerator, and all three are fixable without a plumber.
Addressing these issues early prevents the kind of persistent water damage that leads to costly plumbing repairs down the road.
Problem 1: Water Leaking from the Strainer Basket
A leak at the strainer basket means the plumber’s putty seal has failed. Remove the locknut from underneath the sink using channel-lock pliers, push the strainer up and out of the basin, and scrape off all the old putty. Roll a fresh rope of plumber’s putty, press the strainer back in, and retighten the locknut until a thin ring of putty squeezes out evenly around the flange.
Problem 2: The P-Trap Leaks at the Slip Nut
If water drips from a P-trap connection, the problem is almost always a crushed or misaligned washer. Loosen the slip nut, pull the pipes apart, and inspect the tapered washer. If the washer is flattened, cracked, or deformed, replace it. Reassemble with the beveled edge facing the correct direction and hand-tighten the slip nut plus a quarter-turn with pliers.
Overtightening is what causes this problem in the first place. Plastic slip nuts need only moderate hand pressure to seal properly.
Spring and summer are the busiest seasons for home improvement projects — top-rated contractors book up fast. Lock in your estimate now before demand peaks.
Check Availability in Your Area →Problem 3: Low Water Pressure at the Faucet
Low water pressure at the kitchen faucet usually points to a clogged aerator, not a supply line issue. Unscrew the aerator from the tip of the faucet spout by hand or with pliers wrapped in a rag (to avoid scratching the finish). Rinse the screen under running water and use a toothbrush to clear mineral deposits or debris. Reassemble and test.
If cleaning the aerator does not restore pressure, check the shut-off valves under the sink. A valve that is only partially open will restrict flow to the faucet.
When Should You Call a Plumber Instead of DIYing?
Hire a licensed plumber when the project involves modifying drain venting, rerouting supply lines through walls, or replacing corroded shut-off valves.
Some situations are beyond the scope of a safe DIY project. If you encounter any of the following, stop work and contact a professional:
- Corroded or frozen shut-off valves that will not close. Forcing a seized valve can snap the stem and cause an uncontrolled water leak inside the wall.
- Non-standard drain configurations that require moving the wall stub-out or adding a vent pipe to meet local plumbing code.
- Undermount sink installation on a new countertop where the cutout has not been made. This requires precision cutting with specialized tools.
- Lead or galvanized steel supply pipes feeding the sink cabinet. These should be replaced with copper or PEX by a licensed plumber before installing new fixtures.
If you are in the middle of a larger kitchen remodel, bundling the sink installation with other plumbing work can save on labor costs since the plumber is already on site.
For help identifying whether your plumbing issue qualifies as an emergency, review the signs of a plumbing emergency before deciding between a weekend project and an urgent service call.
Final Checklist
Before you open those shut-off valves, walk through this quick checklist to avoid surprises:
- All supply hose connections are snug (hand-tight plus a quarter-turn).
- Every slip-joint washer is oriented with the beveled edge facing the fitting.
- The P-trap holds standing water when you pour a cup of water into the drain.
- Mounting clips are tightened in a cross pattern and the sink does not shift.
- Paper towels are in position under all joints for the leak test.
- The garbage disposal knockout plug has been removed (if connecting a dishwasher).
- The garbage disposal is plugged in or the breaker is switched on.
Once everything checks out, slowly open the hot and cold shut-off valves. Let the water run for a full minute while you watch every connection from inside the cabinet. If you see drips, close the valves and retighten only the leaking joint before testing again.
A properly installed kitchen sink should give you years of trouble-free service. If problems appear months down the line, the most common plumbing issues have simple fixes you can handle without calling a pro.
Even experienced DIYers hit a point where the project stops feeling manageable. If you run into corroded pipes, frozen shut-off valves, or a drain configuration that does not match the steps above, a licensed plumber can diagnose the issue and get the job done safely. Find a top-rated plumber near you to get a free quote and protect your kitchen from costly water damage.
Ready to Move Forward?
Tell us about your project and get matched with up to 3 pre-screened contractors. Compare quotes, check reviews, and hire with confidence.
FAQs
What Size Drain Pipe Does a Kitchen Sink Use?
Standard residential kitchen sinks use 1 1/2-inch diameter PVC drain pipes. The Uniform Plumbing Code (UPC) sets this as the minimum size. Some local codes or high-volume installations may specify 2-inch drain pipes, so check your local requirements before purchasing materials.
How Long Does It Take to Replace a Kitchen Sink?
An experienced DIYer replacing a drop-in sink with one that fits the existing cutout should budget two to three hours. First-time installers should plan for four to five hours to allow time for careful measuring, dry-fitting, and leak testing.
Can You Reuse Old Supply Lines and P-Trap Parts?
You can reuse braided supply hoses and PVC drain components if they are in good condition with no visible cracking, corrosion, or deformation. However, replacing supply hoses and slip-joint washers during a sink swap is inexpensive insurance against future leaks. A new pair of braided hoses costs roughly $8 to $15.
Do You Need a Permit to Replace a Kitchen Sink?
In most jurisdictions, a like-for-like sink replacement does not require a permit because you are not altering the drain, vent, or supply rough-in. If your project involves moving the sink to a new location or modifying drain venting, a permit is typically required. Contact your local building department for confirmation.
Connect with top-rated local contractors who can help you with siding, roofing, HVAC, windows, and more. Get free quotes from verified professionals in your area today.