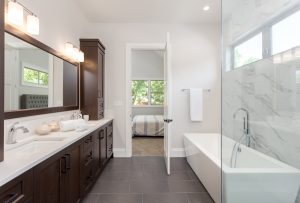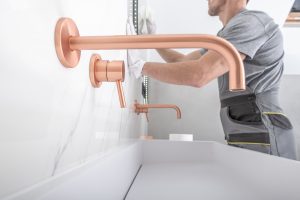


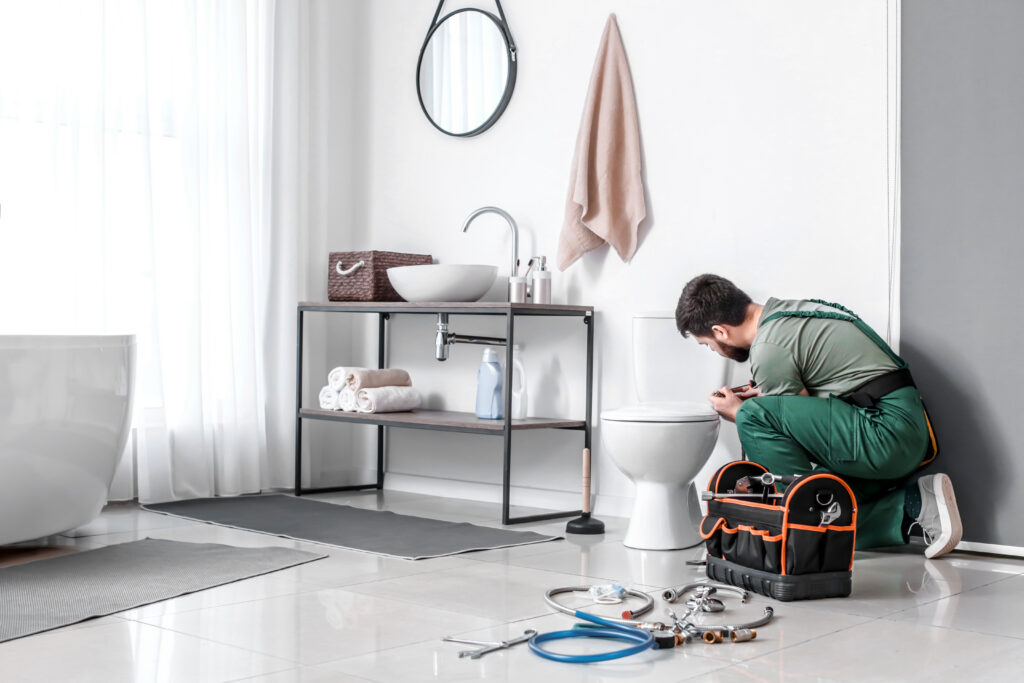
A bathroom renovation is one of the most rewarding home improvement projects you can take on, but it requires careful planning to stay on budget and on schedule. From setting goals and choosing materials to hiring contractors and managing the construction timeline, every step matters.
Use this comprehensive checklist to guide your bathroom renovation from start to finish. Following a structured approach helps you avoid common pitfalls, minimize surprises, and create the bathroom you have been envisioning.
Phase 1: Assessment and Goal Setting
Before diving into design choices, take time to evaluate your current bathroom and define clear goals for the renovation.
- Identify functional pain points: Note what does not work in your current layout, such as lack of storage, poor lighting, outdated fixtures, or inefficient use of space
- Define your priorities: Decide whether you are focused on aesthetics, functionality, accessibility, or a combination of all three
- Determine the scope: Are you doing a cosmetic refresh (paint, fixtures, hardware) or a full gut renovation? This decision shapes your budget and timeline
- Consider accessibility: If aging in place is a factor, plan for features like grab bars, comfort-height toilets, and barrier-free showers now. See our guide to ADA accessible toilet height requirements for detailed specifications
Phase 2: Budget Planning
Setting a realistic budget is the foundation of a successful renovation. Mid-range bathroom renovations typically cost $12,000 to $25,000, with labor representing 40% to 60% of total expenses.
Actual costs depend on your location, project scope, and materials. The best way to know what you'll pay is to get quotes from local contractors.
Get Your Free Estimate →Budget Breakdown by Category
- Fixtures (toilet, sink, tub or shower): 15% to 20% of the total budget
- Tile and flooring: 10% to 15%
- Vanity and countertop: 10% to 15%
- Plumbing: 5% to 10%
- Electrical: 5% to 10%
- Contingency fund: 15% to 20% of the total budget for unexpected issues
Hidden Costs to Anticipate
Renovation surprises are common, especially in older homes. Budget for these potential discoveries:
"We matched with a great contractor the same day. The whole process was easy and completely free."
Need professional help with your project?
Get quotes from top-rated pros.
Find Local Pros- Hidden water damage: $1,000 to $5,000 for remediation and repair
- Electrical code updates: $500 to $2,000 to bring wiring up to current standards
- Asbestos abatement: $1,500 to $3,000 if applicable in homes built before the 1980s
For a detailed breakdown of costs by component, visit our bathroom remodel cost guide.
Phase 3: Design and Material Selection
With your budget established, move into design decisions. This phase is where your vision starts taking shape.
- Choose a design direction: Browse current bathroom remodel trends for inspiration, but prioritize timeless choices that will age well
- Select materials for wet areas carefully: Use porcelain or ceramic tile, natural stone, or other moisture-resistant materials in the shower, tub surround, and floor. Avoid materials not rated for wet environments
- Pick your color palette: Review the latest top bathroom colors and choose 2 to 3 tones that create a cohesive look
- Select fixtures and hardware: Coordinate faucets, showerheads, towel bars, and cabinet pulls in a consistent finish
- Plan lighting layers: Include task lighting near the mirror, ambient lighting for the overall space, and accent lighting for visual interest
- Consider flooring options: Our flooring types guide can help you compare materials suited for bathrooms
Phase 4: Permits and Contractor Selection
Permits and the right contractor are essential for a renovation that meets code and stands the test of time.
Why Hire a Licensed Professional
- Licensed & insured — protects you from liability
- Warranty coverage — manufacturers require pro installation
- Code compliance — avoids permit issues
- Faster completion — pros finish in days, not weeks
Permits
- When permits are required: Most jurisdictions require permits for plumbing changes, electrical work, and structural modifications
- Cost: Permit fees are usually inexpensive relative to the total project, but failing to obtain them can result in fines and complications at resale
- Inspections: Plan for required inspections at key stages, such as after rough plumbing and electrical work is completed
Contractor Selection
- Verify licensing and insurance: Confirm your contractor holds a valid license and carries a minimum of $500,000 in liability insurance
- Check references: Speak with previous clients and view completed projects in person if possible
- Get multiple quotes: Obtain at least three written estimates and compare scope, materials, and timelines, not just price
- Avoid choosing on price alone: The lowest bid often leads to corners being cut. Evaluate contractors based on experience, communication, and reputation
The National Association of the Remodeling Industry offers a directory of certified professionals that can help you find qualified contractors in your area.
DIY vs. Professional: At a Glance
Phase 5: Material Ordering and Pre-Construction
This step is critical and frequently overlooked. Order all materials before demolition begins to avoid costly project delays.
- Order early: Specialty items like European-sourced porcelain tile and smart-valve components can carry lead times of 10 to 12 weeks due to supply chain factors
- Verify delivery dates: Confirm expected arrival for every major item and build buffer time into your schedule
- Inspect materials on arrival: Check for damage, correct quantities, and color consistency before demolition day
- Set up a staging area: Designate a dry, secure location to store materials until installation
Phase 6: Order of Work
Once materials are on hand and permits are secured, construction follows a logical sequence:
- Demolition and removal of existing fixtures, tile, and finishes
- Rough plumbing and electrical work
- Structural changes, if any (moving walls, enlarging openings)
- Waterproofing the shower, tub area, and floor
- Installing cement board, backer board, or other substrates
- Tile installation on walls and floors
- Vanity, countertop, and cabinet installation
- Fixture installation (toilet, sink, faucets, showerhead)
- Painting and trim work
- Final electrical (lighting, outlets, switches, ventilation fan)
- Cleanup, touch-ups, and final inspection
Spring and summer are the busiest seasons for home improvement projects — top-rated contractors book up fast. Lock in your estimate now before demand peaks.
Check Availability in Your Area →Timeline Expectations
A realistic timeline keeps expectations in check and reduces stress throughout the project:
- Planning and permits: 2 to 4 weeks
- Material ordering and lead times: 2 to 12 weeks depending on selections
- Construction (mid-range remodel): 3 to 6 weeks
- Total project duration: 5 to 10 weeks from planning through completion
Starting demolition before materials arrive is the most common cause of project delays. Resist the urge to begin teardown until every item is confirmed and on-site.
Ready to Move Forward?
Tell us about your project and get matched with up to 3 pre-screened contractors. Compare quotes, check reviews, and hire with confidence.
Critical Mistakes to Avoid
- Underestimating the budget: Always include a contingency fund. Unexpected issues are the norm, not the exception
- Skipping waterproofing: Proper waterproofing in the shower and tub area prevents mold, rot, and structural damage down the road
- Ignoring ventilation: A quality exhaust fan rated for your bathroom’s square footage is essential for controlling moisture and maintaining air quality
- Choosing the wrong materials: Not all tile, paint, and flooring products are suitable for the high-moisture environment of a bathroom
- Rushing the process: Cutting corners on preparation or drying times leads to problems that are expensive to fix later
Return on Investment
Mid-range bathroom remodels return approximately 70% to 80% of costs at resale, making the bathroom one of the higher-ROI interior improvements. According to the National Association of Realtors, updated bathrooms are among the top features buyers look for when evaluating a home.
To see how a bathroom renovation stacks up against other projects, explore our guide to home renovations with the best ROI.
Final Inspection and Walkthrough
Before making the final payment, conduct a thorough walkthrough with your contractor:
- Test all fixtures: Run every faucet, flush the toilet, and check the shower for leaks and proper drainage
- Inspect tile and grout: Look for cracked tiles, uneven grout lines, or missing caulk at transitions
- Check electrical: Test all outlets (especially GFCI-protected ones), switches, and the ventilation fan
- Review finishes: Inspect paint, trim, and caulking for quality and completeness
- Collect documentation: Obtain warranties for fixtures, copies of permits, and inspection sign-offs for your records
A well-planned bathroom renovation adds comfort, functionality, and value to your home. By following this checklist and working with qualified professionals, you can navigate the process confidently and enjoy the results for years to come. For additional home improvement project ideas, check out our list of home projects to consider.
Connect with top-rated local contractors who can help you with siding, roofing, HVAC, windows, and more. Get free quotes from verified professionals in your area today.