*Updated March 31st, 2025
First and foremost, you’ll want to narrow down your options. Picking the perfect pet door can be a challenge! There are a few key factors to consider before making your decision.
Style and Size
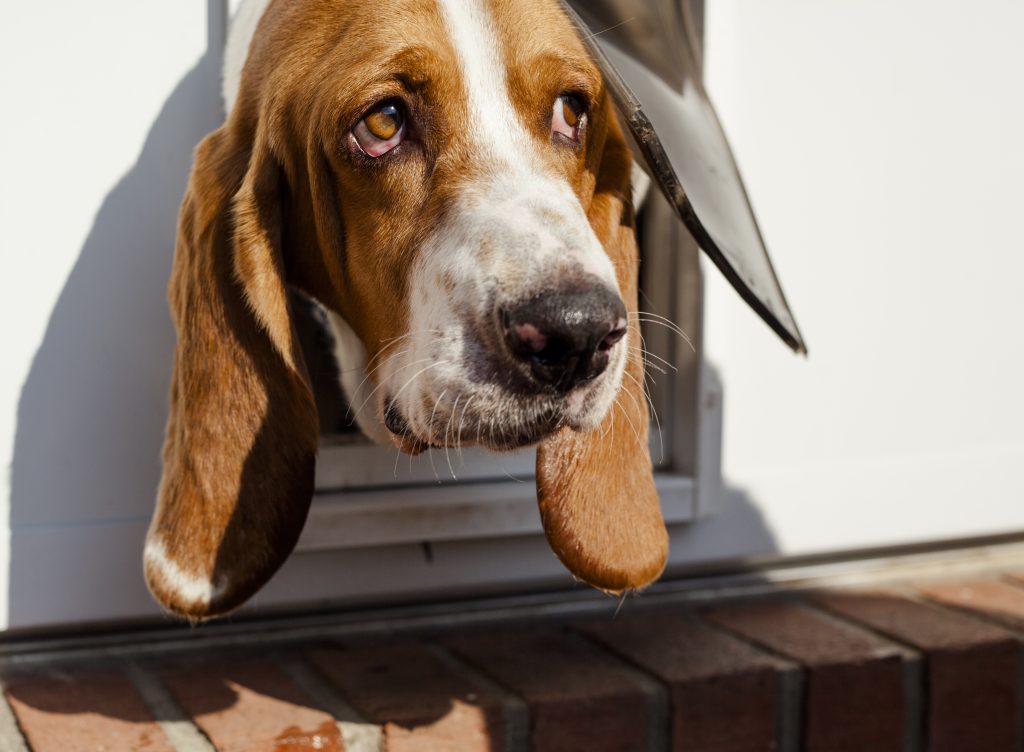
Pet doors come in a variety of styles, from traditional flap doors to electronic and sliding glass door inserts. Think about the size of your pet and where you plan to install the door. You’ll want a size that allows comfortable entry and exit without being too large or too small.
Flap Type
The flap itself can vary greatly. Some doors have a single soft flap, while others feature dual or even triple flaps for better insulation. Magnetic and locking flaps are also great for added security. Choose a flap that suits your climate and lifestyle.
Material and Durability
Pet doors are made from various materials like plastic, aluminum, or even high-impact thermoplastic. If your pet is active or you live in an area with harsh weather, investing in a durable, weather-resistant door can save you from future repairs.
Security Features
Consider doors with built-in locks or electronic access, especially if you’re worried about unwanted animals or intruders. Some high-tech models can be synced with your pet’s microchip for added convenience and safety.
With some careful thought and consideration, you’ll be able to find an ideal match for both your home and pet. Taking the time to weigh your options ensures you choose a pet door that fits your lifestyle and provides the right balance of convenience, durability, and security.
Choose a Suitable Location
Aesthetics
Installing a pet door can be an exciting addition to the home, but it’s important to consider how this new dynamic might affect the living environment. With plenty of pets now venturing in and out more freely, furniture placement should reflect that – make sure there is plenty of room. Plus, it can be fun picking out the exact look – choose from tons of options and make sure you pick what fits best into your existing decor.
Ease of Installation
When it comes to installation, keep in mind that a regular hollow door is the easiest to install a pet door in. Complexity increases as you start to dabble in different door materials such as metal, or even paneled doors. Be realistic about your capabilities when it comes to installation!
Accessibility
It goes without saying one of the most important factors of location is that it’s suitable for your pet. Typically, this is a door relatively connected to the exterior of the home and around the main living area, where your pet likely spends majority of its time.
Measure
The key to any successful installation is accurate measuring in preparation for installation. Pet doors should be installed at least 1 inch above the tallest part of the dog’s back and at least 3 inches from the floor. The step-over should be no more than a third of your pet’s height. It’s also important to note that certain breeds of animals are expected to grow significantly, so make sure you are accounting for that as well. See how to measure your pet for a pet door for more detail.
Prepare the Area
Step 1: Tape the Template
- When you’re ready to make the rough cutout, tape the frame onto the door.
Step 2: Mark the Drilling Points
- To make drilling easier, mark the four corners of your outline.
Step 3: Drill the Holes
- Use the size drill recommended by the specific manufacturer and drill holes in the center of the “X”s you created.
Step 4: Mark the Cutout
- Apply tape to connect the four holes you drilled.
Step 5: Insert Frames
- Follow the manufacturer’s instructions to attach the frame securely to the door or wall.
Step 6: Cut the Opening
- Starting in one corner, insert a blade and drill a hole about half an inch thick.
Step 7: Screw the Frame Into the Door
- Using a level to ensure placement is straight, insert the frames on either side of the door.
Secure Attachments
Now that the frame is in place, it’s time to make sure everything is secure. Check that the flap of the pet door is firmly attached and swings freely without sticking or catching. Give it a few test pushes to make sure your pet can easily move through it. If the flap feels too stiff or loose, make any necessary adjustments according to the manufacturer’s instructions.
Once you’re confident that the door is properly sealed and the flap moves smoothly, you’re good to go! Your pet’s new adventure zone is officially open – time to let them explore their newfound freedom!
Train Your Dog
Entering the house through a door is something that won’t come naturally to your pet, so this step will require some patience. To coax them through the door, have another family member stand on the other side and call them, or even get treats involved for persuasion. Depending on the animal, you may even have to lift them through initially to show them it is possible.
Conclusion
Additional Door Resources

Anna has over six years of experience in the home services and journalism industries and serves as the Content Manager at MyHomePros.com, specializing in making complex home improvement topics like HVAC, roofing, and plumbing accessible to all. With a bachelor’s degree in journalism from Auburn University, she excels in crafting localized, comprehensive guides that cater to homeowners’ unique needs. Living on both coasts of the United States has equipped her with a distinctive perspective, fueling her passion for turning any house into a cherished home through informed, personalized decision-making.
Connect with top-rated local contractors who can help you with siding, roofing, HVAC, windows, and more. Get free quotes from verified professionals in your area today.


